

Wooden furniture, with its timeless charm, often withstands the test of time. Don’t worry if the wood on your dining chairs has worn out; it can usually be restored. Explore the craft of wood chair refinishing with this all-inclusive guide, which is intended to offer crucial procedures and professional advice for an effective makeover.
Chair Assessment: Setting the Stage for Restoration
Start by giving your chairs a thorough inspection. Examine the extent of wear and tear, understand existing finishes, and gauge the overall condition. This critical step lays the foundation for an effective refinishing strategy.
Gather these Tools
- Sandpaper (Various Grits)
- High-Quality Paint Stripper
- Stiff Bristle Brush
- Wood Cleaner
- Foam Brushes/Chip Brushes
- Wood Stain (Choose a shade that complements your aesthetic)
- Clear Matte Topcoat
- Orbital Sander (or 80-grit Sanding Sponge)
- Safety Measures:
- Rubber Gloves
- Respirator Mask
- Well-Ventilated Workspace
- Lead Test Kit (Especially for pre-1970s furniture)
Stripping the Old Finish: A Step-by-Step Process
Prepping
Gear up in protective gloves and a respirator mask before generously applying quality paint stripper with a chip brush. Keep it moist for effective action.
Gentle Stain Removal
The next phase involves a delicate dance with a stiff bristle brush. This is where the softened stain meets its match. Scrub away the released stain with a soft but determined hand. The rhythm is key; regular brush washings keep the brush from being clogged with the loosened dye. Don’t freak out if you see any spots where the stripper has dried. Just reapply a small amount of stripper to restore its efficacy before carrying on with your cleaning.
Thorough Rinsing
Once the stain has been successfully coaxed away, it’s time for a thorough cleanse. This step is more than just a cleanse; it’s a rejuvenation, allowing the wood to breathe freely without the vestiges of its previous coating.
Wood Cleaner Application
With the chair still damp from its recent rinse, wield a foam brush to apply the wood cleaner. Let it sit, allowing its cleansing properties to penetrate the wood. Then, armed with your trusty scrubber, gently massage away any lingering impurities. A final rinse with water ensures the neutralization of the paint stripper, laying the foundation for the next steps in the refinishing process.
Sanding for Smoothness
- Allow the chairs to air-dry completely.
- Use an orbital sander or an 80-grit sanding sponge to meticulously remove any lingering stain.
- Wipe away the sanding dust with a damp cloth.
Staining and Sealing: Rediscovering the Natural Charm
- Apply a thin, even layer of wood stain using a foam or chip brush.
- Swiftly wipe away any excess stains.
- Allow the stain to dry completely.
- Apply two coats of clear matte topcoat for a protective finish.
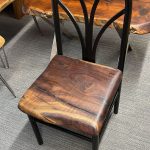
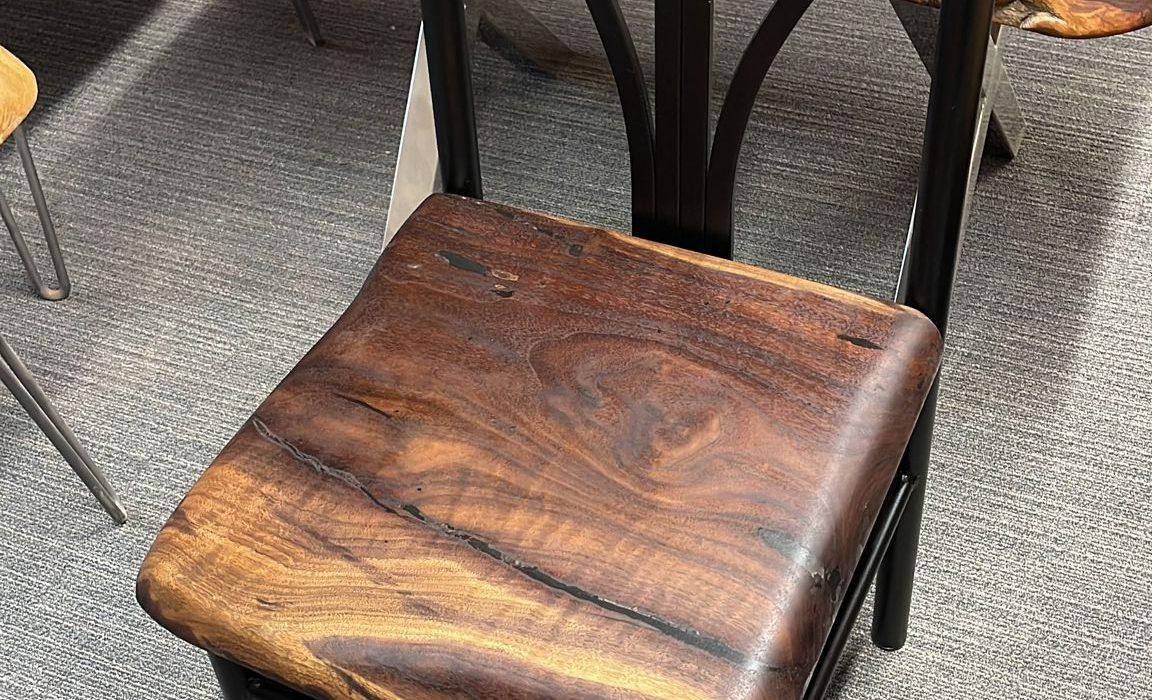
Admire Your Revitalized Chairs
With the refinishing process complete, your chairs are ready to reclaim their spotlight. The combination of stripping, sanding, staining, and sealing has transformed tired chairs into stylish, rejuvenated pieces.
Refinishing wood chairs is not just about restoration; it’s a celebration of craftsmanship and the enduring allure of wood. Whether dealing with a family heirloom or a secondhand find, refinishing breathes new life into wooden furniture, allowing it to once again take center stage in your home.