

Epoxy resin river tables are unique and visually captivating creations that seamlessly blend the organic charm of wood with the mesmerizing beauty of epoxy resin. The popularity of these tables has soared due to their striking appearance and versatile applications, making them equally desirable as functional furniture pieces and artful masterpieces. In this elaborative and detailed step-by-step guide, we will provide precise and concise instructions to guide you through the entire process of crafting your very own epoxy table, and also we will let you know what further you can do, like doing customization or making money out of it. From preparing the wood to pouring the epoxy river and adding personalized touches, this guide will equip you with all the necessary knowledge and techniques to create a stunning epoxy resin river table that will surely be a centerpiece of admiration in any space.
Step 1: Understand the Basics
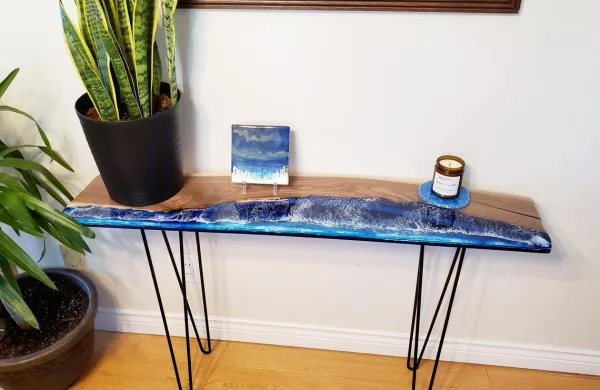
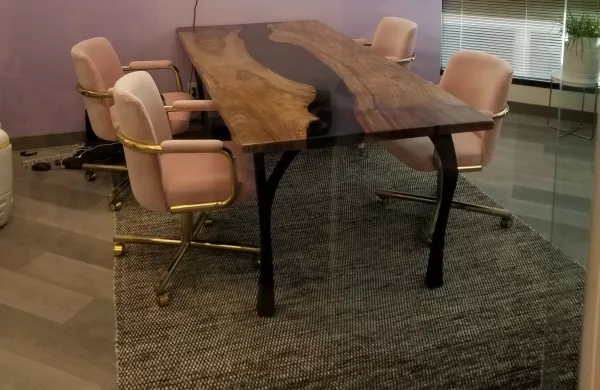
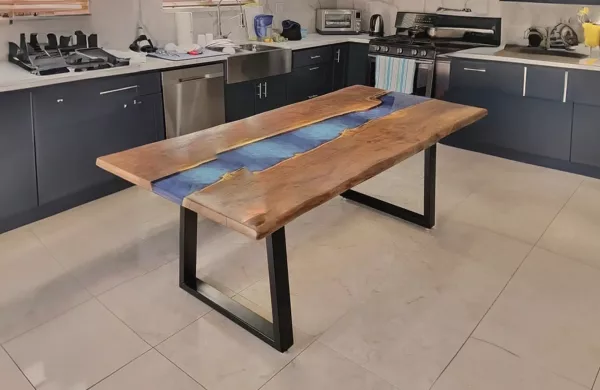
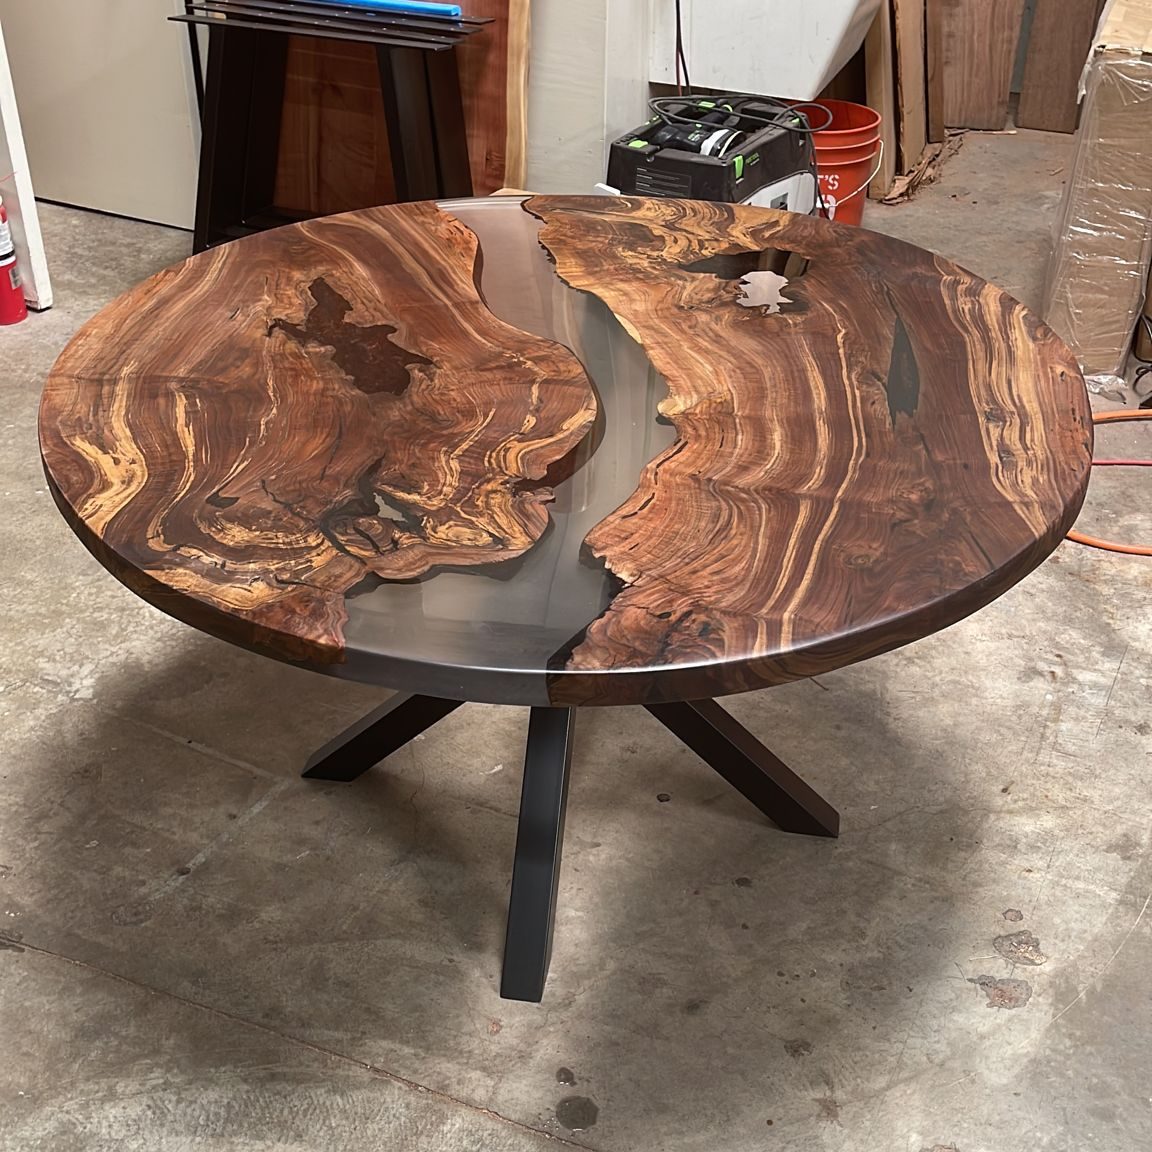
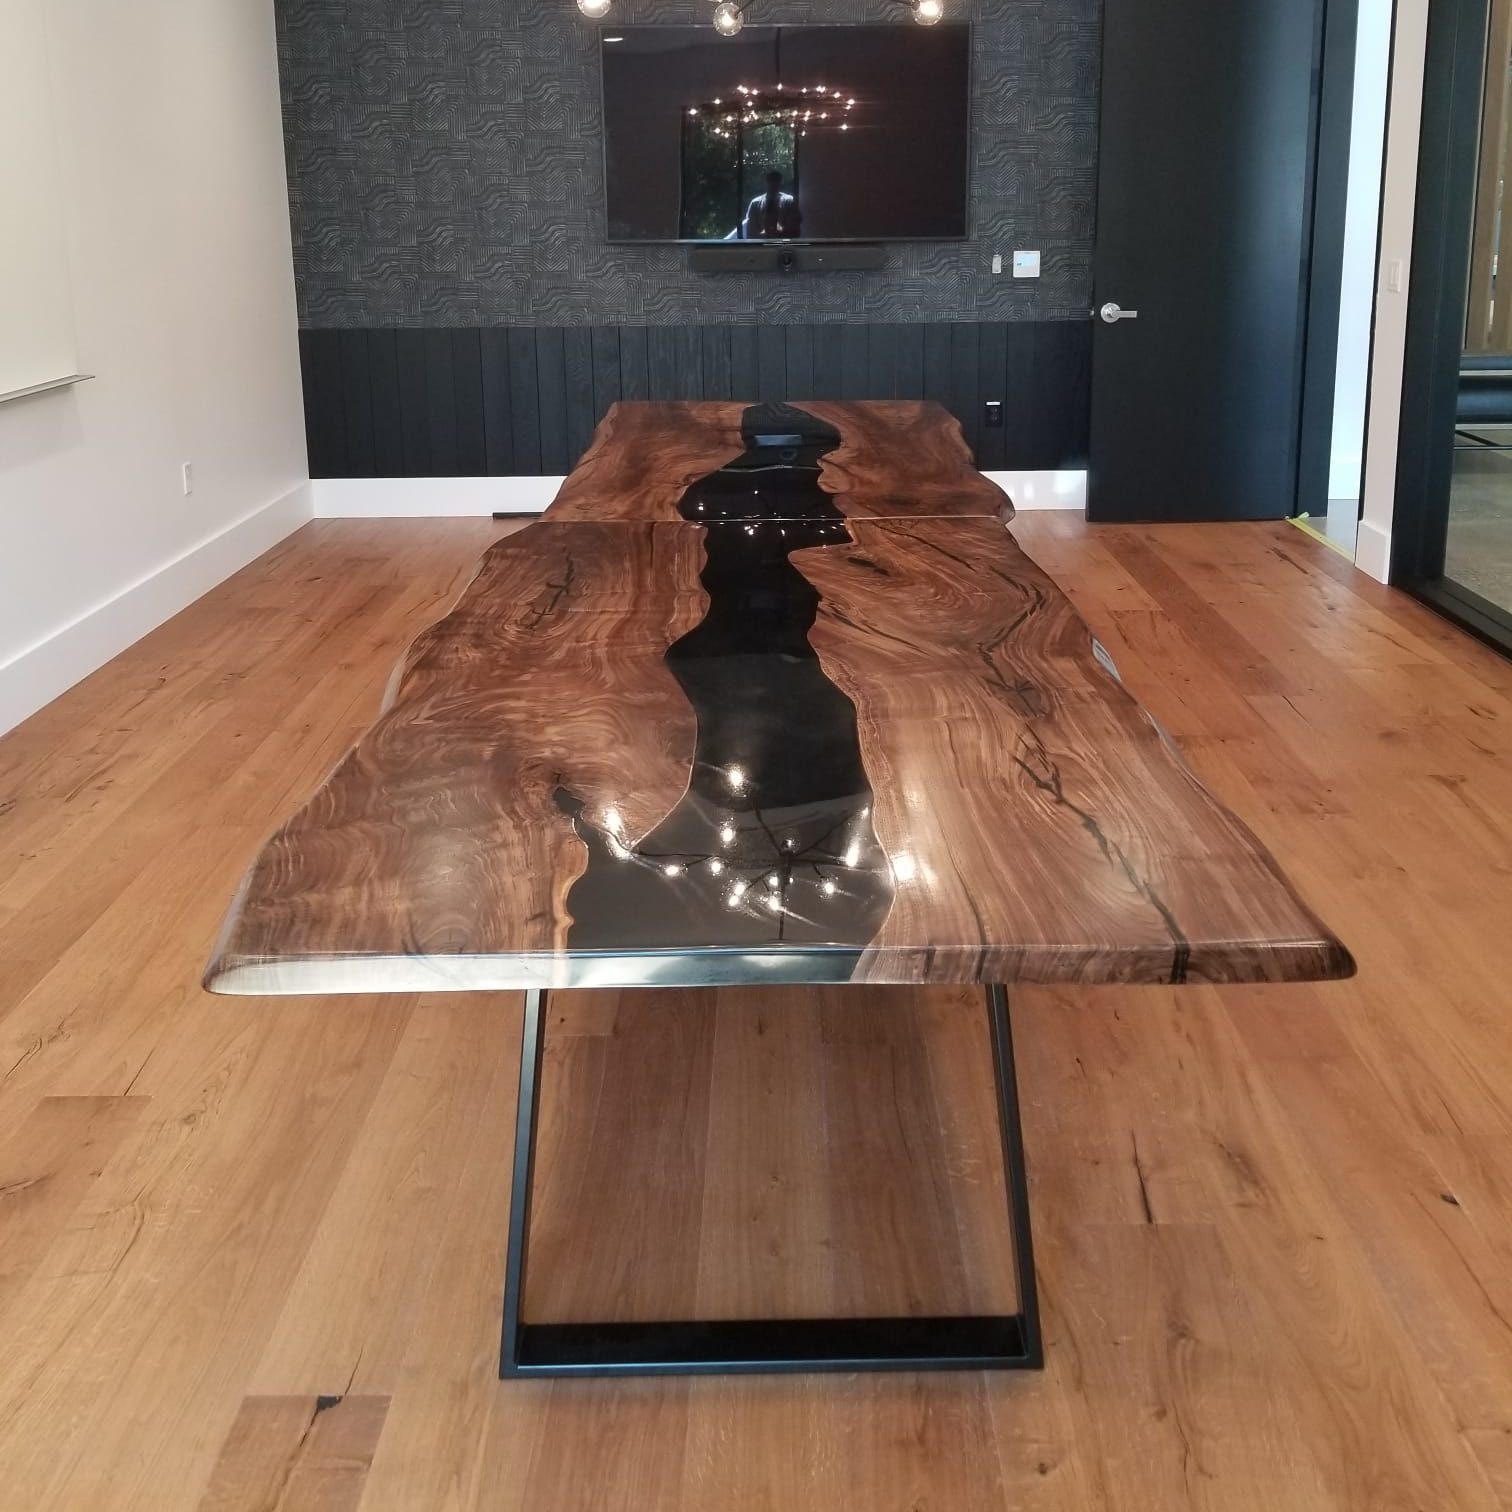
An epoxy table, specifically an epoxy resin river table, is a unique furniture piece created by merging raw wooden planks with epoxy resin. The wood slab is split lengthwise during the procedure, making sure the living edges with exposed bark and grain face inward. The “river” of epoxy that is poured in between the slabs to create a gorgeous, sturdy tabletop is the design’s standout feature. This captivating combination of natural wood and vibrant epoxy resin results in a visually striking and functional masterpiece that can be used as a dining table, coffee table, or artistic centerpiece.
Step 2: Gather Your Materials and Tools
To begin, gather all the necessary materials and tools. You will need:
Materials:
- Wood slab (natural wood or tree trunk)
- Epoxy resin and hardener
- Epoxy resin color pigments (optional)
- Silicone caulk
- Plastic sheeting
- Release agent (liquid release wax or silicone spray)
Tools:
- Miter saw
- Table saw
- Wire brush
- Orbital sander
- Caulk gun
- Mixing cups and utensils
- A propane torch or heat gun
- Plunge router (optional for inlays)
- Sandpaper (80 to 220 grit)
Step 3: Prepare the Wood
If you’re starting with a natural wood slab, follow these steps to prepare it:
- Cut the wood slab to your desired length using a miter saw.
- Rip the wood slab with a table saw to create a clean, straight edge.
- Use a wire brush to remove the bark along the live edges, exposing the natural wood grain.
Step 4: Create the Mold
Creating a sturdy and leak-proof mold is a critical step in ensuring the success of your epoxy table project. A well-constructed mold not only prevents epoxy resin from seeping out but also ensures that the resin cures uniformly, resulting in a smooth and even tabletop surface.
Start by preparing your work surface. Lay a piece of thick plastic, such as a plastic drop cloth or a plastic tarp, on your workbench or table. Make sure the plastic extends a few inches beyond the length of the wood slab on each end. This will create a protective barrier and catch any excess epoxy that may spill over during the pouring process.
Use silicone caulk to line the length of the wood slab on the bottom side. The caulk acts as a barrier, preventing the epoxy resin from seeping out through the gaps between the wood and the plastic. Apply a continuous bead of caulk along the edges, ensuring that there are no breaks or openings where the resin could escape.
Allow the silicone caulk to dry completely before proceeding. Drying times may vary depending on the brand and type of caulk used, so refer to the manufacturer’s instructions for guidance. Ensuring the caulk is fully dry is crucial, as any uncured caulk could mix with the epoxy and compromise the final appearance of your table.
Once the caulk is dry, flip the wood slab silicone side down onto the plastic sheeting. Make sure the wood is aligned with the edges of the plastic, and if needed, use another piece of wood to prop up the slab or create raised edges. This step is essential to ensure that the epoxy resin stays contained within the mold and doesn’t leak out during the pouring and curing process.
To further reinforce the ends and corners of the mold, apply metal tape or aluminum flashing. This step provides additional support and security, preventing any potential leaks at the edges. Secure the metal tape firmly in place, ensuring it adheres to both the wood and the plastic.
Step 5: Seal the Wood
Before pouring the epoxy resin, seal the wood to prevent air bubbles and ensure a smooth finish:
- Use a fast-drying epoxy resin to seal any cracks or porous areas in the wood.
- Seal the wood edges with a silicone barrier to prevent the epoxy from spreading over the entire table.
- Allow the sealant to dry for at least 5-6 hours.
Step 6: Mix the Epoxy Resin
To ensure a successful epoxy resin mix, follow the manufacturer’s instructions carefully. If your workspace is cooler than 75-80°F, warm the resin and hardener bottles in hot water. Measure the epoxy resin and hardener in a 1:1 ratio and mix them in a silicone cup for about 3 minutes until fully combined, making sure to stir carefully to avoid introducing bubbles. For those seeking to add color to their epoxy river table, incorporate epoxy resin color pigments during the mixing process to create your desired hue. By adhering to these steps with precision, you can achieve a smooth, bubble-free, and beautifully colored epoxy resin mixture ready for pouring onto your carefully prepared wood slab.
Step 7: Pour the Epoxy River
With your epoxy resin thoroughly mixed, it’s time to pour the river into the mold:
- Pour the epoxy resin slowly into the mold to avoid trapping air bubbles.
- Add multiple colors using stir sticks or toothpicks to create unique designs. This is not mandatory but an optional choice, so it all depends on you.
- Remove any bubbles with a butane torch, taking care not to touch the flame to the epoxy.
- Wait for the initial layer to gel before adding subsequent layers. The ideal wait time is 24 hours between pours.
- Continue pouring layers until the epoxy river reaches your desired depth.
Step 8: Embrace Customization
Add a touch of personalization and creativity to your epoxy table by incorporating unique elements such as inlays, stones, or LED lighting. For inlays, embed small objects like seashells or colored glass pieces into the epoxy, adding a delightful and eye-catching detail to your table’s design. For a mesmerizing night-time ambiance, consider using glow-in-the-dark pigments, transforming your epoxy table into a captivating and enchanting centerpiece that will leave a lasting impression on anyone who beholds it. With these personalized touches, your epoxy table will truly become a work of art and a conversation starter in any setting.
Step 9: Expand Your Creativity to Other Projects
Embrace the versatility of epoxy resin by crafting captivating river charcuterie boards, elegant serving trays, charming coasters, or even mesmerizing epoxy resin art pieces. Let your creativity flow and explore the myriad possibilities this medium offers. Moreover, connect with fellow enthusiasts in the epoxy and woodworking community, sharing your innovative creations and learning from their unique perspectives.
Step 10: Consider Business Opportunities
Transform your epoxy resin art passion into a thriving small business by taking a few strategic steps. Begin by building a captivating portfolio of your finest epoxy resin creations and display it online to showcase your talent and attract potential customers. Consider offering custom-made river tables or epoxy art pieces for sale on various platforms to reach a broader audience and tap into the growing demand for unique and artistic pieces.
Step 11: Constantly Improve and Innovate
Embrace experimentation with various epoxy pigments, resins, and finishes to expand your creative horizons and discover new possibilities in your epoxy projects. By continuously seeking knowledge and pushing your boundaries, you can enhance your skills and create truly remarkable epoxy creations.
Conclusion
You have been introduced to the step-by-step procedure and have discovered the limitless possibilities of epoxy creativity, starting with comprehending the fundamentals and moving on to adding personal touches and investigating commercial chances. Share your knowledge and inspiration with others as you continue to experiment and create with epoxy resin. Do not forget that the possibilities in the realm of epoxy tables are virtually endless. Let your imagination run wild while enjoying the satisfying process of epoxy artistry and woodworking!